Sunday, September 15, 2013

JAZZ IT UP!! Pizza Burgers

Pairing burgers and pizza together....how can you go wrong, right?!  Here I use frozen burger patties, and jazz them up to make dinner just a little bit more special!  It's perfect for a busy night! 

Ingredients:

- Frozen burger patties
- Pizza Sauce
- Garlic Salt
- Pepperoni
- Shredded Mozzarella Cheese
- Burger Buns

Directions:

1.  I bake my frozen burger patties for 15 minutes or so on each side and season them with garlic salt.  I then drain the grease off. 

2.  Spoon a good amount of pizza sauce over each burger.  Top with pepperonis and the mozzarella cheese.  Place under the broiler for about 6 minutes or until the cheese is browned and bubbly.


3.  Serve on a burger bun with more pizza sauce if desired. 

Here's the final product.....

Simple, easy, CHEAP, and puts a little "oomph" into dinner time for your kiddos!  I served mine with my homemade French fries my husband begs for and a side salad.    Enjoy!

Basic Chocolate Cake

It's always good to have a basic cake recipe!  This is mine that I've had laying around for a bit.  It's easy to pull together, chocolatey, and better than the mix you buy at the grocery store! (not that I don't buy those!  Those are good too!)

Ingredients:

- 2 Cups Sugar
- 1 3/4 Cup Flour
- 3/4 Cup Cocoa
- 1 1/2 tsp. Baking Powder
- 1 1/2 tsp. Baking Soda
- 1 tsp. Salt
- 2 Eggs
- 1 Cup Milk
- 1/2 Cup Vegetable Oil
- 2 tsp. Vanilla
- 1 Cup HOT Water (not pictured)

Directions:

1.  In a large bowl, combine the Sugar, Flour, Cocoa, Baking Powder and Soda, and the Salt.  Whisk together well.


2.  Now in the same bowl, toss in the Eggs, Milk, Veg oil, Vanilla (side note:I found Mexican vanilla for a super cheap price...I'm never going back!) and the HOT water.  Mix well with your hand held mixer.


3.  Grease a 9X13 inch pan with cooking spray and pour your mixture into the pan.  The mixture will be very loose!  Don't worry!  That means a MOIST cake! 


4.  Bake your cake at 350 degrees for 30-40 minutes or until you insert a toothpick into the middle and it comes out clean.  Let cool.

Here's the final product....

I used a jar of frosting I bought from the supermarket b/c I can.  ;-)  It was great as a special noon day treat for the kids, their friends and I!  And it'll be great tonight for dessert too!  Try this one when you need a great chocolate cake base!  Enjoy!

Thursday, September 12, 2013

Chicken and Bacon Quesadillas

Quesadillas are a quick and easy lunch or dinner that you can basically toss together in minutes!  All it takes is a bit of prep work and you're good to go! 
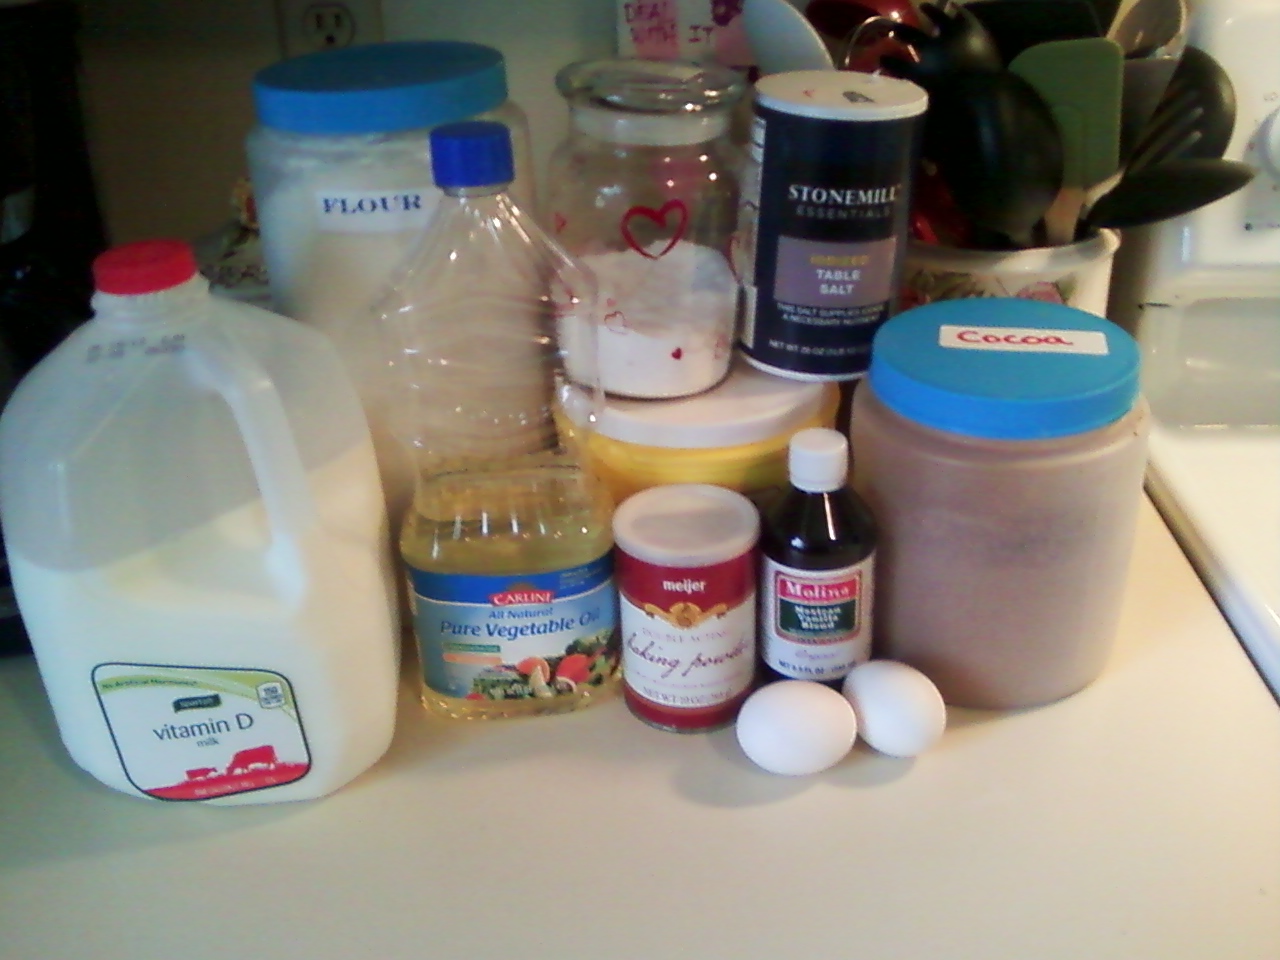
Ingredients:

- 2 large chicken breasts, seasoned with your choice of seasonings, grilled and sliced.
- Flour Tortillas ( I use the Fajita size)
- REAL Bacon bits...do not get the crunchy kind!
- Butter
- Shredded Cheese
- Toppings:  Onion, tomato, jalapenos (or whatever you like!)


Directions:

1.  In your skillet, melt about 1 1/2 tablespoon of butter.  Your skillet needs to be on about medium high heat.

2.  Place one tortilla down into the skillet and place a small amount of cheese on to it, spreading it as evenly as possible.  Top with the chicken and the bacon.  Then, if you want the toppings, top with those as well.  Top that with more cheese so everything sticks together.  Top with the other tortilla.


3.  Press down on the quesadilla firmly with your hand (or large, manly meat hooks in my case....) and move it around to get that butter browning on the bottom.  Flip it over when the cheese on the bottom has melted and the tortilla has reached your desired brown-ness.  My husband prefers his almost burnt.  I like mine brown as shown.  It's a preference thing!


4.  Once the other side is browned and your cheese is melted perfectly, remove your quesadilla to a plate and allow it to sit for at LEAST 4 minutes!  That way when you cut it, it doesn't just go all over the place.  I use a pizza cutter to cut it into 4 triangles, but you don't have to do that if you don't want to.  It will all taste the same!

Here's the final product.....


I served ours with a side of homemade Mexican rice.  Very satisfying, very filling, and the best part is (besides the bacon...) is that it was SIMPLE, which is just what this working Mommy needs on a busy weeknight!  Try this today...you can't go wrong when it involves bacon! ;-)

Tuesday, September 10, 2013

Meal Plan Monday (but Shhh! It's Tuesday!) 9/9/13 thru 9/15/13

I've been meal planning off and on when I used to be super consistent and I'm trying REALLY hard to get back on to it and to posting more regularly on here now that things in my life have come back to "normal". 

So, here goes!

Monday 9/9
Slow Cooker Steak 'n Gravy
Mashed Potatoes
Side Salad

Tuesday 9/10
Steak Taquitos
Side Salad

Wednesday 9/11
Chicken Tenders
French Fries
Side Salad

Thursday 9/12
Chicken and Bacon Quesadillas
Mexican Rice
Side Salad
Fruit Salad

Friday 9/13
Pizza Burgers
Homemade Baked Potato Wedges
Side Salad

Saturday 9/14
Cheesy Chicken and Rice Bake
Bread and Butter
Corn
Side Salad

Sunday 9/15
Firestarter Chili
Rolls
Side Salad

Monday, September 9, 2013

Slow Cooker Steak 'n Gravy

This is another one of those perfect meals for a busy night, largely thanks to the wonderful invention...the slow cooker!  It hits the spot, is hearty, and comforting.  Try this one soon!

Ingredients:

- 1 large pkg of Cube Steak
- 2 cans of low sodium Cream of Mushroom Soup
- 1 envelope of Onion Soup Mix
- 3/4 to 1 Cup of Water
- 1 tsp. of dried Parsley
- 1/2 cup of onions, diced or sliced
- Salt and Pepper to taste


Directions:

1.  Cut your steaks into manageable pieces and then place all ingredients into the slow cooker.  Jiggle all the steaks around so they can all get coated with the soup/water/seasoning.  Cook on low for 6-8 hours.


Here's the final product....

I served mine with mashed potatoes and a side salad, but you could easily serve with rice or egg noodles as well and it would be divine!  Like I said...this is definite comfort food...and it makes the house smell delicious! 

Jamaican Jerk Chicken

This recipe is perfect for a quick dinner on a weeknight!  You make the marinade the night before and when you come home the next evening, all you've got to do is toss it on the grill!  It gives a nice zip to your regular old chicken dish!

Ingredients:

- 2 Jalapeno Peppers (if you want spicier...you can use an Habernero or Scotch Bonnet pepper..but I would only use 1 of those!)
- 1 bunch Scallions, diced
- 2 cloves of Garlic, minced ( I use the jarred)
- 1 1/2 tsp. dried Thyme
- 2 tsp. Salt
- 2 Tablespoon Brown Sugar
- 2 Tablespoons Soy Sauce
- 2 Tablespoons Lime Juice
- 2 Tablespoons Vegetable Oil
- 2 lbs. Boneless, Skinless Chicken thighs or breasts

Directions:

1.  In a large plastic freezer bag, toss in your chicken.  Place the bag in a large bowl to prevent drippings.

2.  In a separate bowl, combine all ingredients listed above and stir well.  Pour over your chicken, seal, and roll bag around in your hands to distribute the marinate.  Allow to refrigerate until the next day at dinner time.  Remove chicken from the bag and grill.  (I used my indoor grill and it worked perfectly!)


Here's the final product....

Very flavorful and a hint of spice!  We prefer white meat more than dark, so next time we would use chicken breasts instead of the thighs we used.  But that's a preference.  I served this with Jasmine rice and a salad on the side.  Try this one...your taste buds will thank you! 

No Bake Cookies

No Bake Cookies is THE simplest cookie recipe in the Universe.  I am positive that most people know how to make these wonderful chocolaty morsels.  However, there are a few different recipes floating around.  I think that THIS one is perfect!  I am never disappointed because they always set well and the cookies always come out perfectly balanced with chocolate and a hint of the peanut butter (in some recipes they taste too peanut buttery IMO!)  And this one is from an expert....Ms. Betty Crocker herself ;-)

Ingredients:

- 2 Cups Sugar
- 1 Tsp. Vanilla
- 1/4 Cup Cocoa
- 1 pinch of Salt
- 1/2 Cup of Milk
- 1 stick of Butter
- 1/2 Cup smooth Peanut Butter
- 3 Cups Quick Oatmeal

Directions:

1.  In a large saucepan, add in the Sugar, Cocoa, Butter, Salt, and Milk.  Turn your burner on Medium and heat the mixture slowly until it starts to come to a boil.  Stir as you go!!  Use this time to get your other ingredients measured out and ready!


2.  Take the pan off the stove and allow the mixture to sit for 1 minute. Add in the peanut butter, vanilla, and oats.  Stir in well with a wooden spoon.


3.  Drop the cookies by tablespoon on to wax or parchment paper.  Allow them to cool until they are COMPLETELY set!  *this is difficult, I know!  console yourself by licking the spoon after you're done dropping the cookies! ;-)


Here's the final product....

I am actually surprised I had enough time to take this picture before the cookies were swiped off the plate!  So good, especially with a cold glass of milk!  Enjoy this classic and soon!