Ingredients:
- 1 Cup Flour
- 1 1/2 teaspoon Baking Powder
- 2 teaspoon Cinnamon
- 1/2 teaspoon Salt
- 1 1/2 Cups Grated Carrot
- 1/2 Cup of Walnuts, chopped
- 2 Eggs
- 1 Cup Sugar
- 3/4 Cup Vegetable Oil
- 2 teaspoons Vanilla

Directions:
1. In a bowl, combine the flour, baking powder, cinnamon, and salt. Set aside.

2. Grate your carrots, or you can cheat like I always do and buy them pre-grated. I mean, really, who wants to grate carrots all day long when they're already done it for you? I place the grated carrots on my cutting board and run my knife through them a bit more. It makes smaller bits of carrot, which our family prefers. Set aside your carrots.

3. In a separate bowl, combine your sugar, eggs, oil, and vanilla. Mix well.

4. Slowly begin combining your wet and dry ingredients, blending well. Measure out your walnuts and toss them and the carrots into the mixture. Mix well, folding in the carrots and nuts.


5. Grab your cake pan and spray with cooking spray to prevent sticking later. If you don't have cooking spray, butter and flour will work well here too. Spread your cake batter into your pan. Place in a 325 degree oven for about 32 minutes.


6. Remove your cake and allow to cool until you're ready to frost it.

Now, onto the frosting........
Cream Cheese Frosting
Ingredients:
- 6 oz. Cream Cheese at room temperature
- 2 Tablespoons Butter at room temperature
- 2 teaspoons Vanilla
- 1 1/2 to 2 cups of Powdered Sugar (taste for the right amount!)
- Milk if needed

Directions:
1. Combine butter, vanilla and cream cheese until fluffy and light.


2. Gradually add in sugar, beating until fluffy. Taste to see if any more sugar is needed.
3. If your frosting gets too tight, you can loosen it with a drop of milk. I did not require any this time.
4. Use frosting to frost your carrot cake!

Once your carrot cake is frosted, top it with some sprinkling of the leftover walnuts.

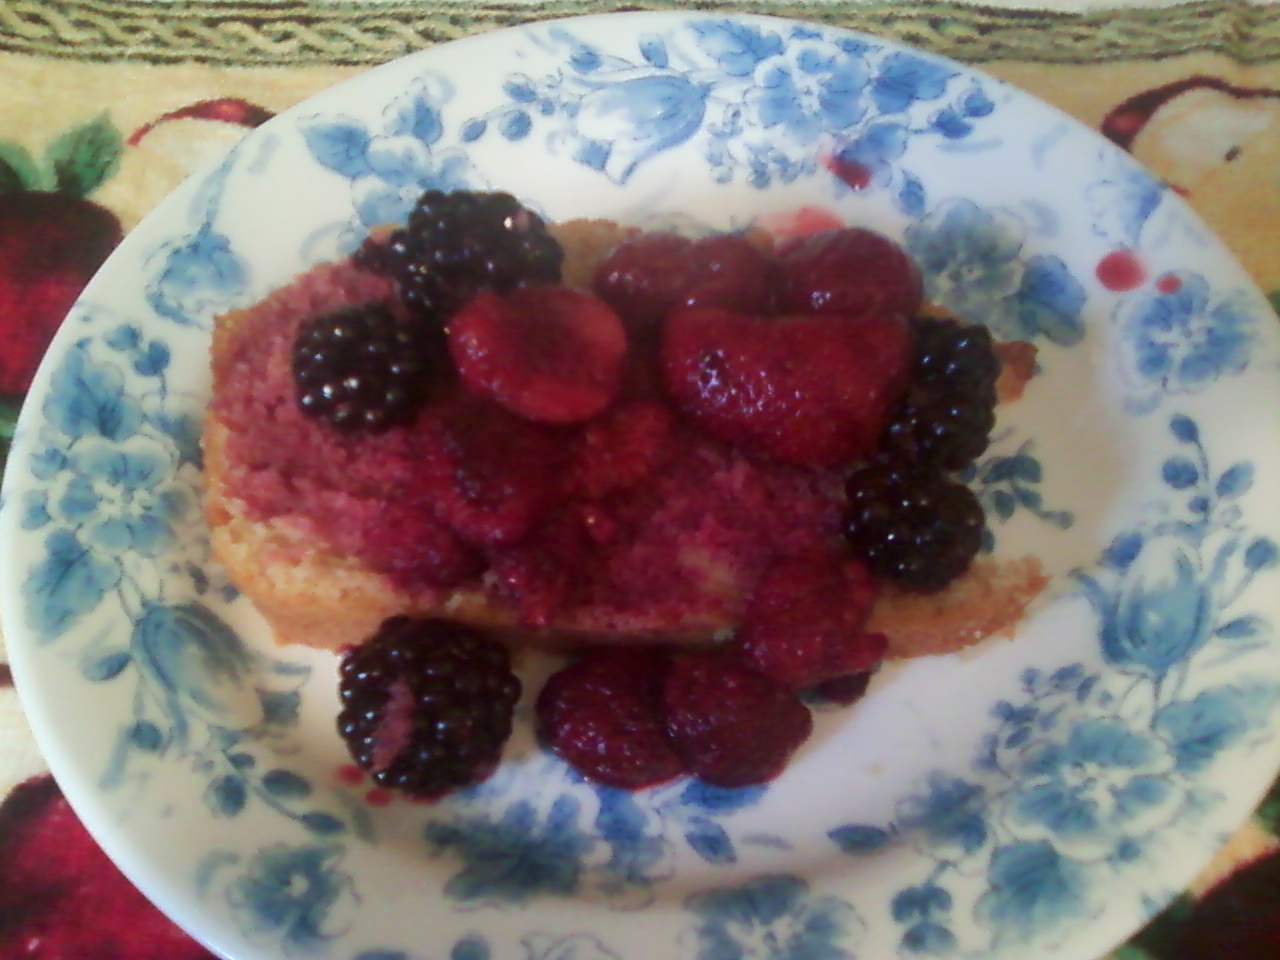
Here's the final product.....

So moist, so flavorful, and you don't even have to feel guilty about eating a nice slice of it! Enjoy!